Here is a picture of the finished one I just made, with step-by-step instructions on how to make your own. Let your creative side shine!

I like how this looks just like a crown; I guess this is about as close to royalty as I will ever get!!
Here's how to make it:
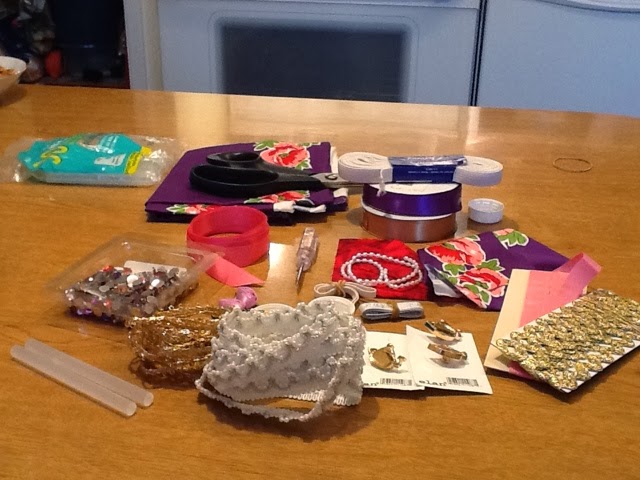
Supplies you will need:
****************************
1 bottle cap from a 2 litre (bullet) bottle of pop
Glue gun with 2-3 glue sticks
Approx. 5" piece of 1/4" elastic
Needle and thread
Hole punch or awl
Small amount of leftover fibrefill or batting
Approx. 5" square piece of remnant fabric
Various bits of trims, rickrack, buttons, ribbons
An elastic band


Let's get started.
1). Punch 2 holes into the top of the bottlecap and enlarge slightly enough for the elastic to thread through.


2). Using the hole punch or awl, poke the elastic through one hole, to the underside of the bottle cap. Tie a double knot into the elastic in the underside and add a generous amount of hot glue to glue the knot in place.


3). Next, position the bottle cap on your finger and determine how much elastic you will need to wrap around your finger through the other hole in the bottle cap. Make the elastic fit slightly snug, as over time it will slightly stretch, but not too tight to be uncomfortable or cut off circulation.


4). Next, take a small amount of batting or fibrefill and form into a ball or wad shape. Form it rather tightly, so that it will hold pins well when the pincushion is done. Next, tightly wrap the piece of fabric around the ball of batting and secure it very tightly with an elastic band.


5). Using the needle and thread, tack stitches around the base of the batting, going through the fabric. This is just extra security so that the fabric doesn't unravel over time once glued into the bottle cap. Trim off the excess fabric/batting so that a small stub remains. Glue this into the bottle cap.


6). Now comes the fun part of using your own scraps to come up with a design. Here are some samples of mine.


7). Glue on your trims and scraps with the glue gun, being careful of your fingers! (I now have a blister where I burned mine).


Done!!! ( Is it just me or does my hand look like a gorilla's?!! There go my dreams of ever being a hand model!)

Finally, I glued on a jewel to make it that much more convincing.
I hope these directions were clear and straight forward. Please email me pictures of ones you make. I would love to see them.
Rosie
Oooo oo ooooo. Gorilla Grip it is. From now on.
ReplyDeleteGeez these are adorable.
Can I reserve one of these in a Mexican Day of the Dead motif? Let me know if you want some fabric from here. There are some awesome Mexican and very colourful textiles in cotton fabric here.
BONITA! Cute as heck.
Love the "Let's get started" command.
Love it! But I don't have a hot glue gun. Can I just use Guetterman's (sp?) fabric glue? That's what is available from the *one* quilt store here in Israel.
ReplyDeleteHi : thanks for your question. I have never used that glue before so I am sorry, but I have not idea. I have only used a glue gun for this. My guess is that you will have to hold it in place a lot longer, once you glue the fabric. Maybe you could try holding it together with a clothespin? That should free up your hands. Good luck. Let me know what you decided.
DeleteRosie
Great tutorial!
ReplyDeleteThanks for sharing!
Thank you for your comments. I was hoping the directions would be easy to follow.
DeleteThank you for your comments. I was hoping the directions would be easy to follow.
ReplyDelete